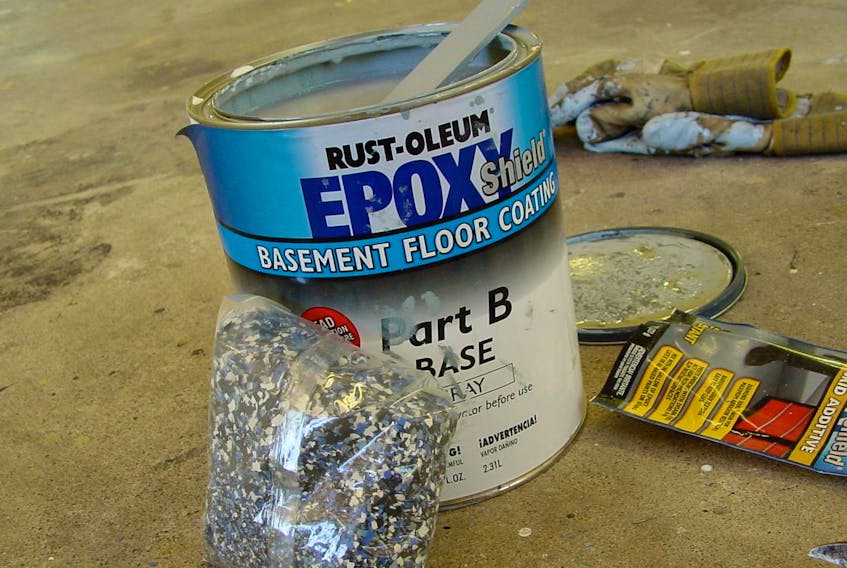
Q: What are the top garage floor epoxy coatings out there? I want a nice, clean washable surface for my floor, but there are so many on the market.
A: You’re right, there are a lot of epoxy coatings out there. I haven’t done long-term testing on a bunch of different brands, but I do know that Rustoleum Epoxy Shield has stood up very well over more than 10 years of heavy use. This company still offers a product with the same name, so I think it’s a good bet.
The situation I’ve seen is not in a garage either, but epoxy works well in many environments. The issue is adhesion, so you’d want to follow instructions closely. Above all, you’re wise to wait until summer. Canadian garage floors get wet and salty in the winter, and that’s no good for coating adhesion. Wash your floor when winter slush isn’t a problem any more, then let it dry for a week or so of good weather. I’d clean the floor with a shop vacuum as a final step before coating. Epoxy floor coatings look best with little flakes of plastic thrown on the surface when the epoxy is still wet. A pair of golf shoes with spikes lets you walk on the floor to spread flakes on the wet coating. If you do this within an hour of rolling the epoxy on it will flow back and the spike marks disappear.
Woodworking with logs

Q: Is it possible to make something from the oak tree I cut down at my place? I don’t have many tools, but I’d really like to make something from at least part of the wood.
A: That’s an interesting project you’ve got in mind, and yes, you can make things directly from your tree. I’ve tackled several projects like this myself. You’ll need to get some kind of tools to make things happen, and here’s what I’ve done in the past.
I started by splitting the short pieces of log into quarters. Pieces a couple of feet long will work fine and they’re easy to work with. You can use an iron wedge and a sledge hammer, or do the work on a wood splitter. With the log quartered, you’ll need to find some kind of saw to make little boards. You’ll find half-inch or three-quarter-inch thick is best. I’ve used my bandsaw for this work, but the old-timers used to use handsaws.
Let your little boards dry in a heated, indoor space for a couple of months with air circulation around each piece of wood. After that you can cut, plane and join the wood into little projects such as a box or shelf. Like I said, you will need to get some tools to make this happen, but it could well be the start of a new hobby for you. Buying tools in response to an actual project will help you choose items you actually need. This is the best way to build a tool collection.

Cutting threads in steel
Q: What’s the best way to make threads in steel for small bolts? I know there are tools for this, but I’ve never used them.
A: The name of the tool used for cutting threads is a tap. You drill a hole of the correct size, then thread the tap into the hole. It takes more force to turn the tap than it does to turn a bolt of the same size, but that’s because the sharp edges of the tap are actually cutting the threads inside the hole. DeWALT is the only company I know of that sells a drill bit that’s also a tap. You drill and tap all in one operation. It works really well and you can see it in action on video at baileylineroad.com/32369.
Steve Maxwell is a syndicated home improvement and woodworking columnist who has shared his DIY tips, how-to videos and product reviews since 1988.